
Verdict: A great all-round helmet with excellent ventilation and a reassuringly high safety rating
Pros
+ Good fit
+ Light weight
+ Very comfortable
+ Excellent safety rating
+ Striking appearance
+ Wide range of colour options
Cons
– Cranial support could use more up-down adjustment
– MIPS Air Node liner gets sweaty at the brow in warmer temperatures
- £250 / $299.99 / €290 / AU$425

The S-Works Prevail 3 helmet is Specialized’s flagship lightweight road helmet, with the brand claiming it’s “the ultimate all-round helmet that excels in hot conditions, strenuous climbs and mountainous stages”.
The helmet has received quite the overhaul in its third generation, with the various updates culminating in a claimed 24.5 per cent improvement in surface area ventilation over the outgoing Specialized S-Works Prevail Vent II helmet.
Specialized, in fact, goes even further to claim that the S-Works Prevail 3 is the most ventilated helmet it’s ever made.
In testing, the S-Works Prevail 3 has proven a top performer, impressing with its smart design and the ventilation improvements are instantly noticeable on the road or trail.
It’s a shame the brow pad of the MIPS Air Node liner is the only real weak link of the package.
Specialized S-Works Prevail 3 helmet details and specification

The S-Works Prevail 3 sits alongside the S-Works Evade 3 at the top of Specialized’s helmet pecking order, with the Evade prioritising aerodynamics over all-out ventilation.
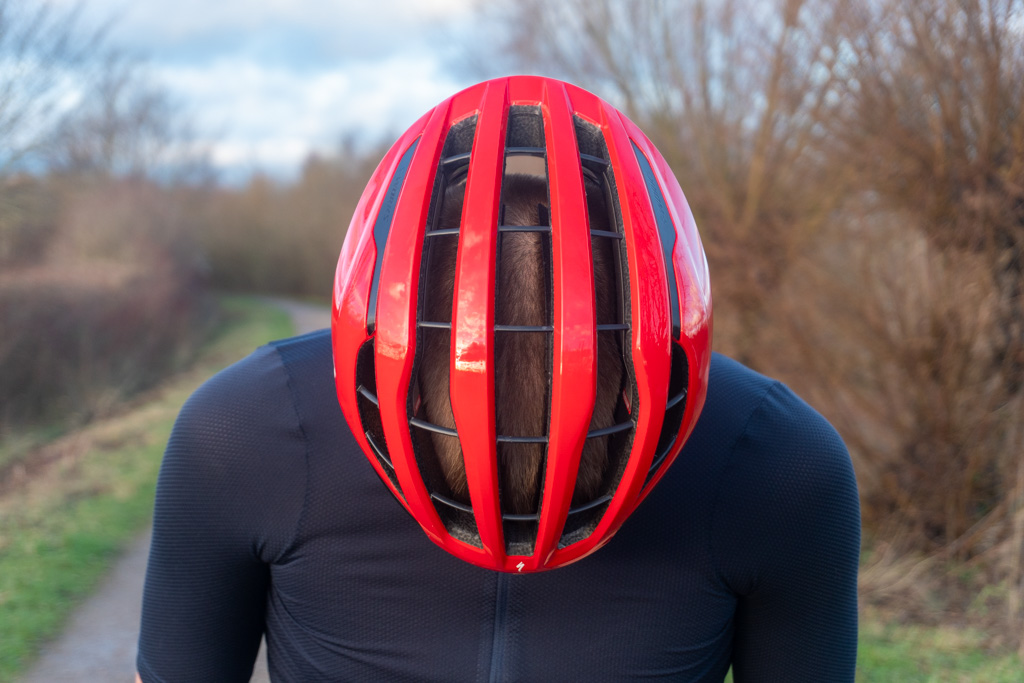
The key way in how the Prevail 3 is more ventilated than its predecessor is that Specialized has removed the foam bridges from the helmet’s centre, effectively creating through-air channels.
There’s also no shortage of vents – by my count, there are 30.
The S-Works Prevail 3 incorporates MIPS’ Air Node technology, which Specialized says is integrated directly into the helmet padding, with a “sleek, low-friction layer designed to dissipate rotational forces”.
Specialized has also used a new system called ‘Air Cage’, which sees woven aramid cables (five of them) traverse the helmet that are anchored to carbon fibre side panels – most brands will typically use more EPS foam instead.
Should these be impacted, Specialized says these cables effectively work as a suspension bridge, and are designed to distribute the forces throughout the helmet.
The S-Works Prevail 3 has earned a 5-star rating in independent tests conducted by Virginia Tech’s Helmet Lab.

The helmet is also compatible with the ANGi Mindset fit system, a small node that fits to the back of the helmet and sends an alert to a pre-designated contact should you experience an impact. It’s a £45 add-on that doesn’t come with the helmet.
The S-Works Prevail 3 features in-built storage for cycling sunglasses and Specialized continues to use its Adjustable Tri-Fix web strap systems for claims of boosted comfort.

The helmet is available in three size options, from small to large.
As well as the Vivid Red helmet on test, you can also pick between eight other colours, including Black, White Sage Metallic, White Mountains, White, White / Black, Black / Chrome and Hyper Dove Grey.
On the scales, my size-large S-Works Prevail 3 CE helmet weighs 305g , 5g heavier than claimed.
Specialized S-Works Prevail 3 helmet performance

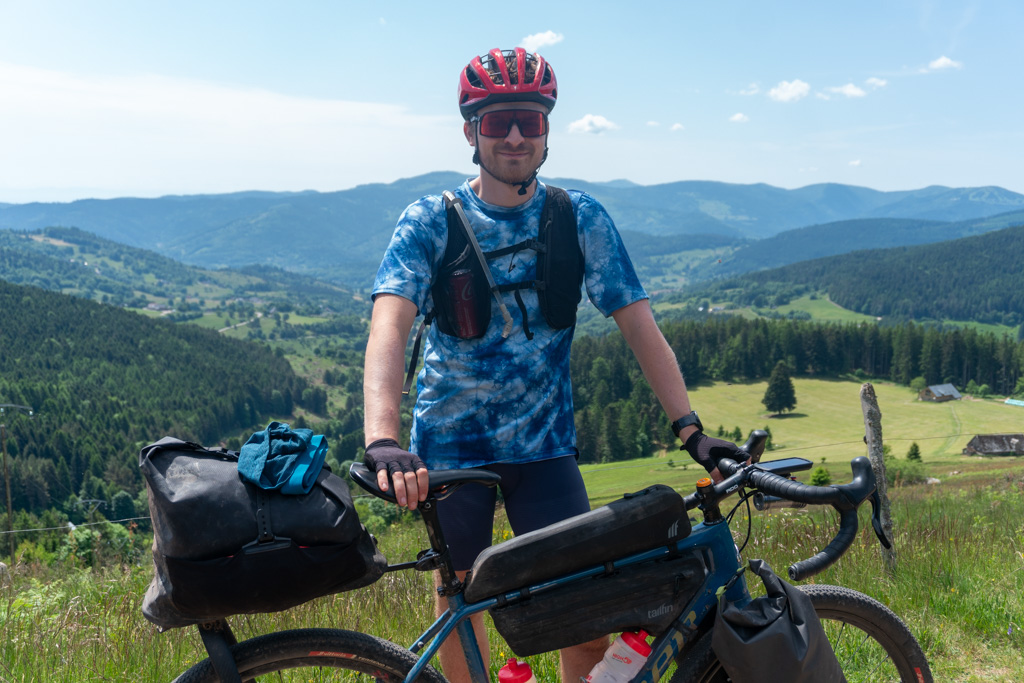
I’ve been testing the S-Works Prevail 3 over the past three months from the middle of spring and into the summer, predominantly in the UK but also on a 400km French bikepacking trip in the Vosges mountains. Conditions have ranged from mid single-digit temperatures to 30ºC heat.
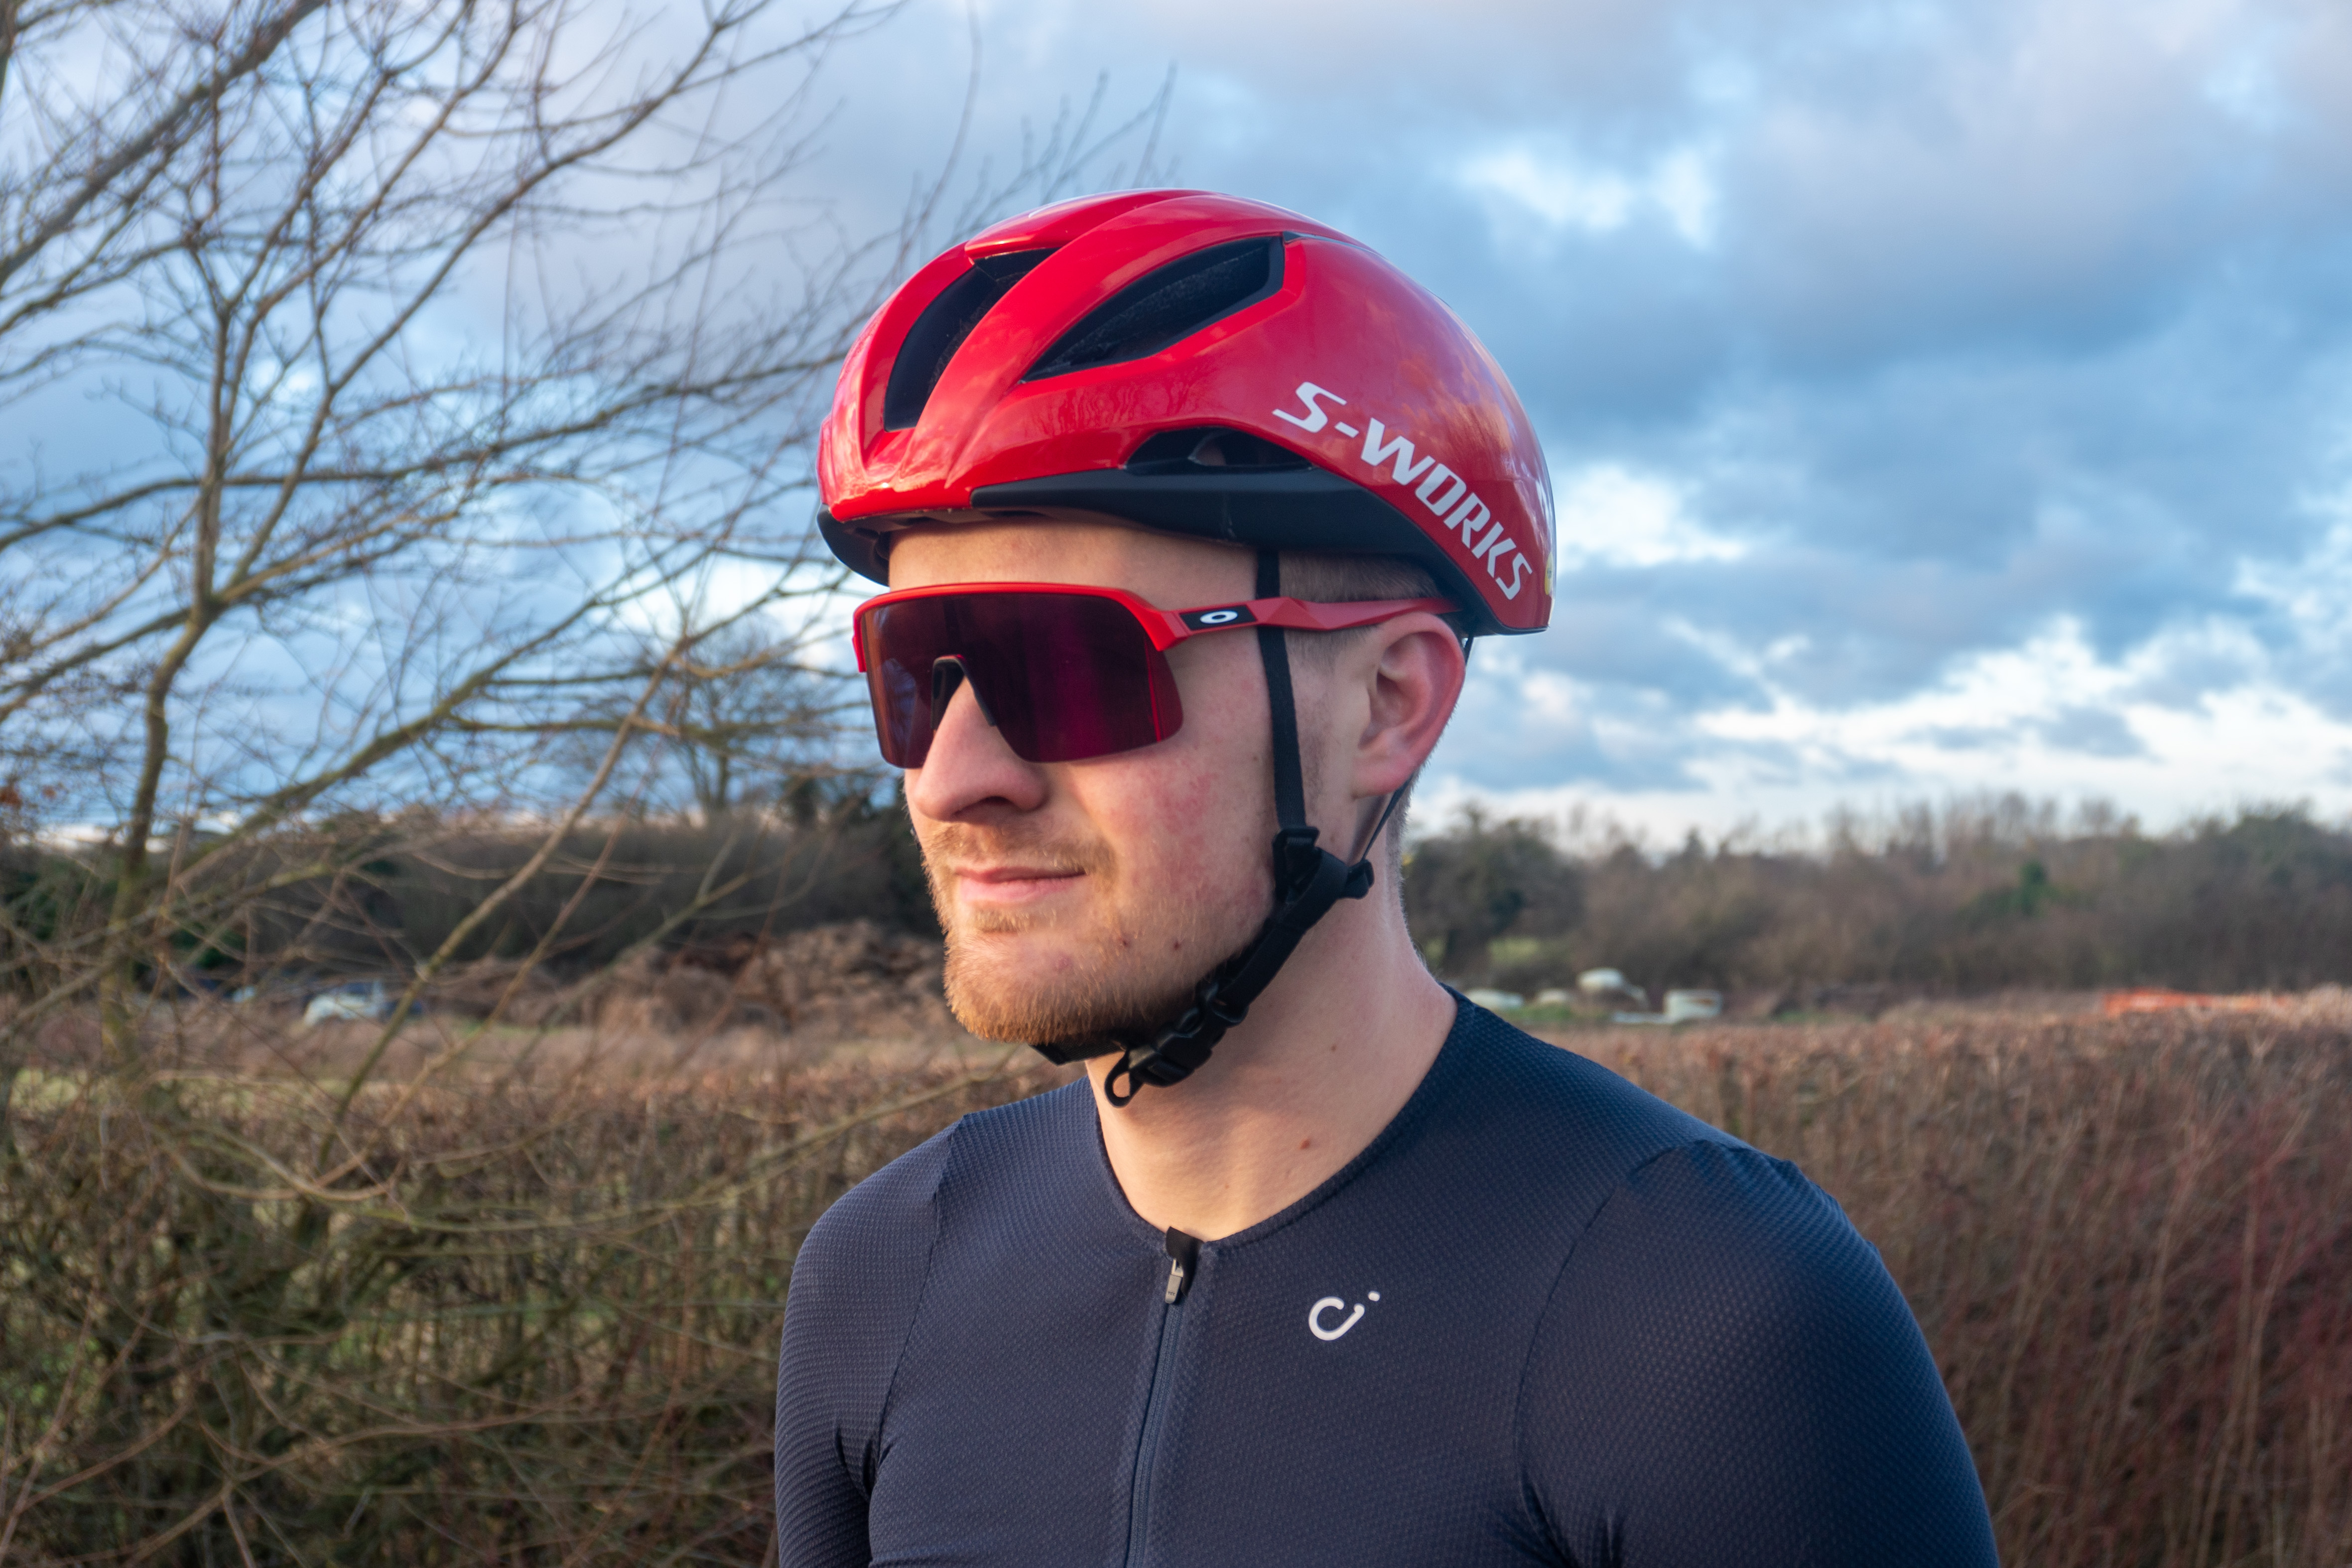
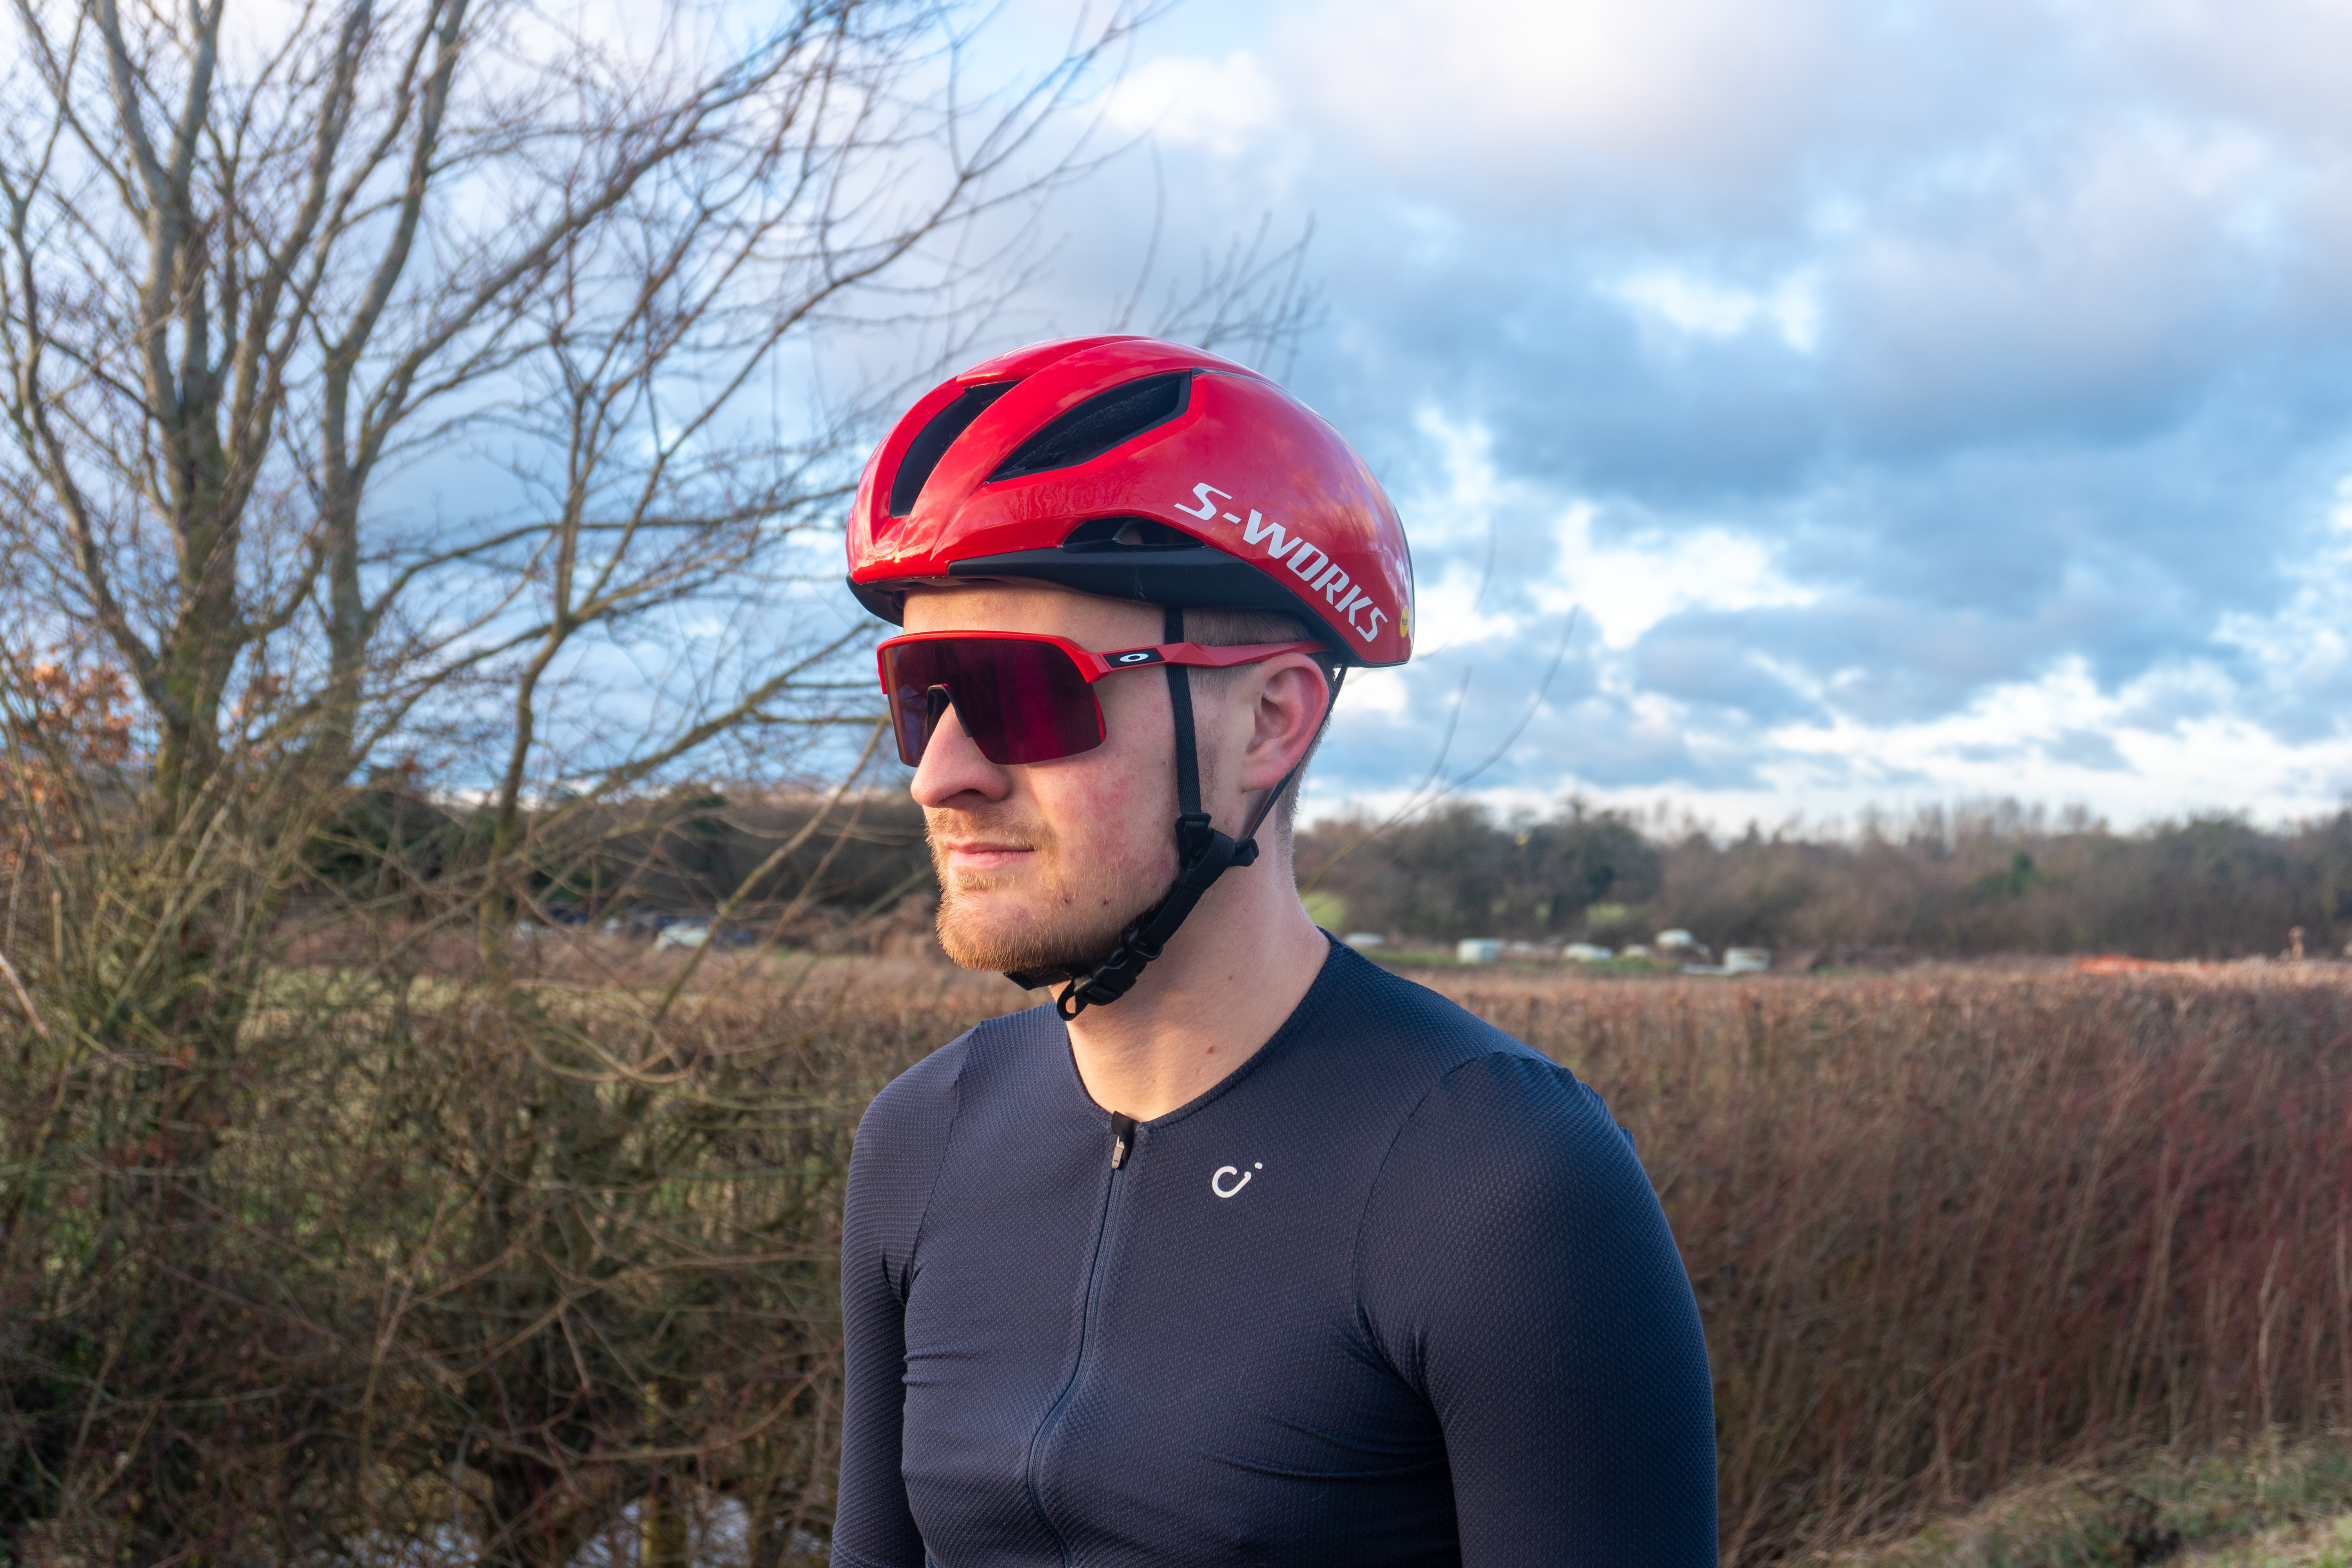
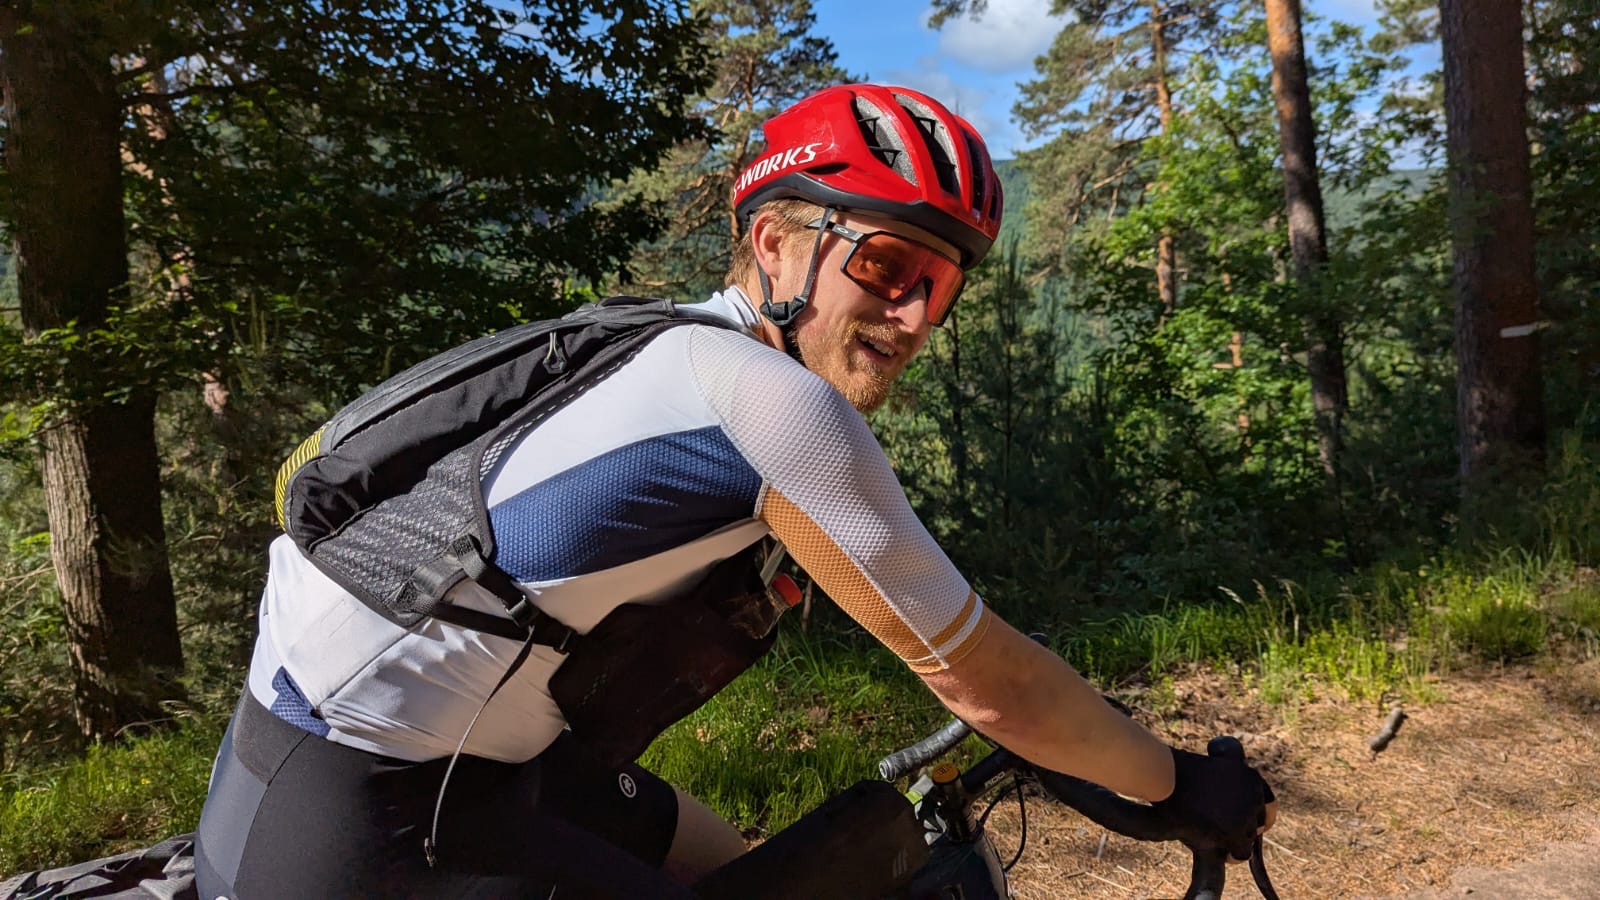
Starting with its appearance, the S-Works Prevail 3 is a smart-looking helmet, with those gaping vents particularly at the front of the helmet, making it stand out from the crowd.
It’s much sleeker looking than the S-Works Prevail II Vent it replaces, with its awkwardly high and pointy rear.
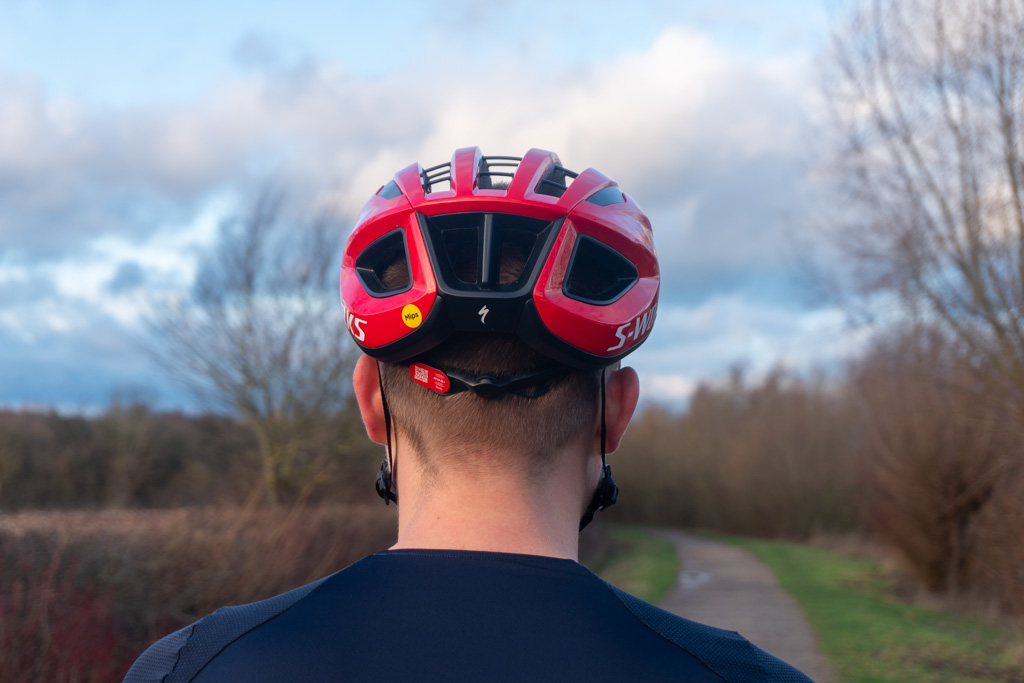
The Prevail 3’s finish is very premium, and I love the Vivid Red colourway – but if that’s not your cup of tea, there’s plenty of other colour options you can choose from.
Like Specialized’s other helmets, the S-Works Prevail 3 is better suited to fairly wide oval-shaped heads (like mine).
It sits a little higher on my head than the Kask Valegro, my benchmark lightweight helmet, but not as high as Specialized’s second-tier Propero 4 helmet.

The tried-and-tested Adjustable TriFix webbing system proved easy to adjust in tailoring the fit of the helmet, but a common complaint I have with Specialized helmets is that I wish the cranial support had more up-down adjustment for greater coverage.
While the thumbwheel on the S-Works Prevail 3 is easy to adjust, the Kask Valegro continues to be my gold standard when it comes to fit because it has in-built up-down adjustment.
The S-Works Prevail 3 proved a top performer when riding and not just on sweltering days – my head never felt cold riding in mid single-digit temperatures, even without a cap or buff.
On warmer days, the sizeable vents do a great job of guiding the wind through the helmet, which was something I appreciated particularly on the long days of my bikepacking trip, as well as on extended training rides.
On rides over 27ºC heat, I noticed the brow pad of the MIPS Air Node padding would get more saturated than the rest of the helmet.
It never got to the point where sweat dripped into my eyes, but it’s certainly something I was conscious of, and this isn’t something I’ve experienced wearing the Kask Valegro.
It’s worth noting that I’m not a heavy sweater and that I tend to feel warmer temperatures more than most, so your threshold may vary.
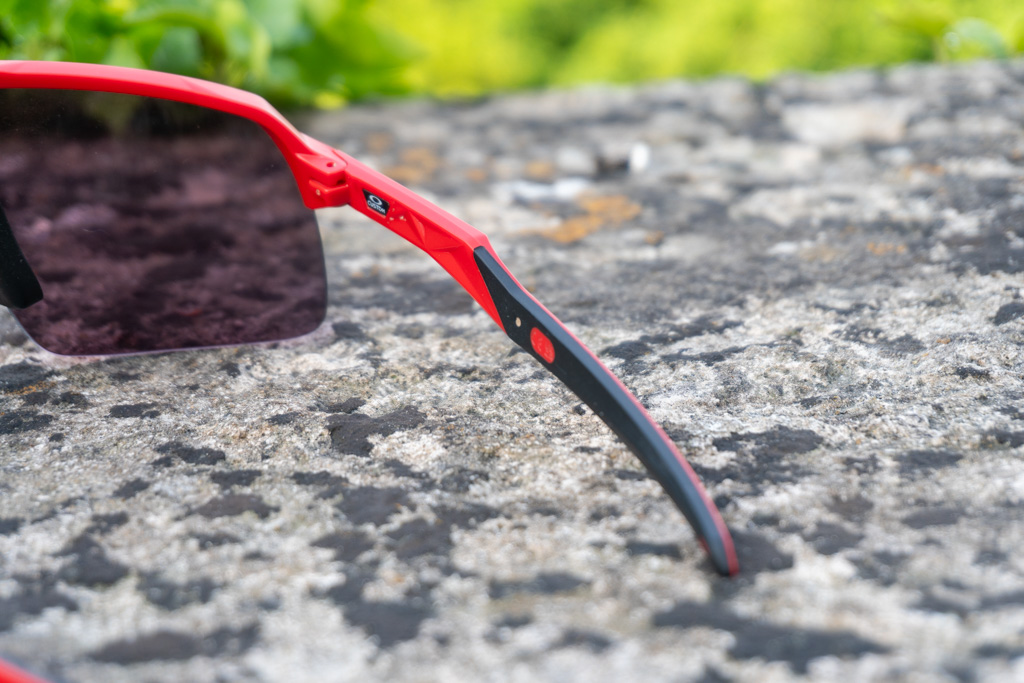
The sunglasses storage worked as described, with the S-Works Prevail 3 ably holding my Oakley Sutro S and Sutro Lite glasses, as well as my 100% S3’s.
However, I found I had to concentrate when fitting my sunglasses into the dock, and it wasn’t something I could do while riding.
At £250 / $299.99 / €290 / AU$425, the S-Works Prevail 3 is far from a cheap helmet. Kask’s Valegro pips the helmet in terms of performance and is cheaper, retailing for £185 / $250 / €209 / AU$330.
Specialized S-Works Prevail 3 helmet bottom line

The S-Works Prevail 3 is an excellent helmet in the American brand’s line-up and isn’t just well-suited to warm conditions – it’s a top performer in milder temperatures too.
It also offers a very comfortable fit (even if it sits a little high and I wish the cranial support were better) and it’s a great-looking helmet to boot.
The fact it comes with a 5-star safety rating from the Virginia Helmet Tech Lab is very reassuring, too.
If you regularly ride in hot conditions, the S-Works Prevail 3 will be a trusty companion but the brow pad of the MIPS Air Node liner is a limiting factor – although your mileage and heat tolerance will vary.
Kask’s Valegro remains my top pick if you’re after a ventilated, lightweight road helmet.