
+ Uses the same frame technologies as the Endurace CF SLX
+ Far from an endurance slouch
+ Well-specced for the asking price
– Stock wheels hold the bike’s true potential back
– Binary-feeling Shimano disc brakes
- £2,699 / €2,799 / $3,699
Canyon’s Endurace is a staple of its genre. Launched back in 2016, this second-generation Endurace represented the German brand’s first disc-brake equipped endurance road bike.
The model is still going strong if not a little long in the tooth, and Canyon announced an updated Endurace in 2022. It supersedes this generation which features clearance for up to 700x35mm tyres and mounting points on the top tube. However, the second-generation CF SL 8.0 is what I am reviewing.
Rather than resorting to additional comfort measures such as Specialized’s FutureShock or Trek’s IsoSpeed, Canyon instead focus on introducing flex into the frame to deliver its all-day comfort. After all, the clue is in the Endurace’s name – rather than riding like a sofa, it needs to be able to be pushed too in a race scenario.
This is the CF SL variant. Sitting above this frameset is the top-flight SLX, which receives Canyon’s top-end carbon layup and will therefore be lighter and stiffer.
This CF SL 8.0 is equipped with a full Shimano Ultegra R8020 groupset and DT Swiss E 1800 wheels.

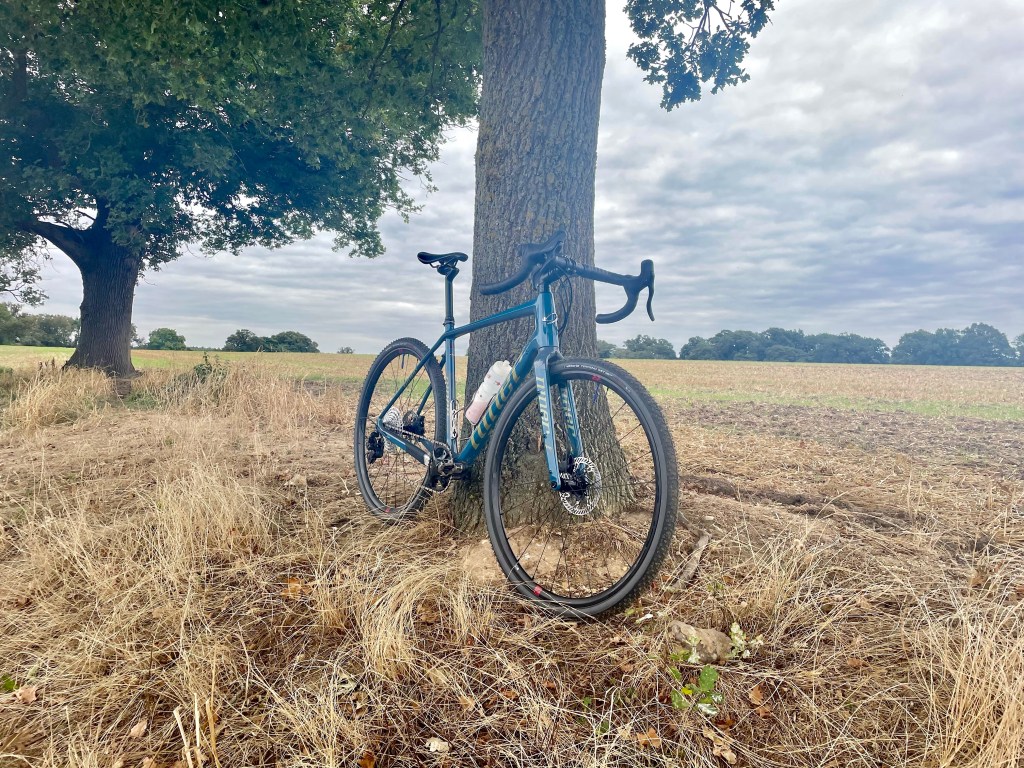
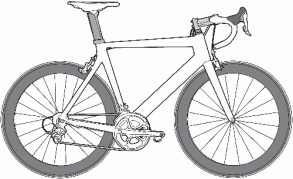
The bike has an unassuming appearance, cutting a neat aesthetic and eschewing frame features such as dropped seatstays, that many manufacturers are hell-bent on including. The seat tube is an interesting tube shape, with a slightly aerodynamic profile where the rear tyre meets it.
There’s even some colour on show on this particular sample – not all Canyon’s have to be black on black!
Canyon Endurace CF SL 8.0 Disc geometry

Canyon offers a broad range of sizes for the Endurace CF SL, starting from 3XS to XL. The brand doesn’t size conventionally so it’s worth paying close attention to the geometry chart before purchase.
I am 180cm and tested a medium – Canyon advises a 178 to 184cm height range for this size.
The head tube angles range from 70 to 73.25 degrees across the range, but seat tube angles are fixed at 73.5 degrees. This size medium has a 73 degree head tube angle with a 382mm reach and 578mm stack. It also features 415mm length chainstays.
This is on the racier end of the endurance bike spectrum. Compared to Trek’s latest Domane, that sees a 591mm stack and 377mm reach with 420mm chainstays. But the Endurace isn’t quite as race-oriented as Trek’s Emonda which features a 386mm reach, 541mm stack and 410mm chain stays.
Canyon Endurace CF SL 8.0 Disc performance

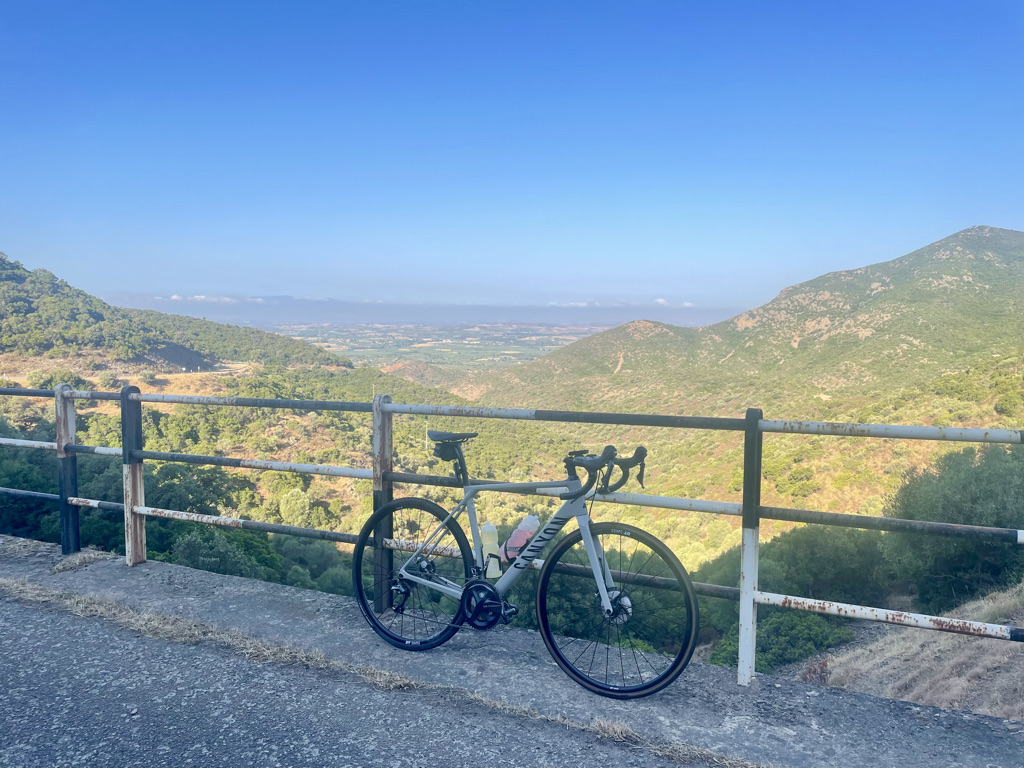
The Endurace CF SL 8.0 was tested over four days and just over 200 miles in south east Sardinia, including two 75 mile rides.
I found the Endurace to ride on the firmer side for an endurance bike – as the name suggests, it has a racing edge to it and you can certainly feel the Ultimate’s pedigree with its lightweight feel.
When the gradient points up, the Endurace is a steady climber but it doesn’t egg you on (a wheel upgrade would give this build a more urgent climbing feel but more on that later).
The Endurace is a steady and sure-footed descender, offering a planted but not overly exciting feel. It doesn’t encourage you to really rail it into corners or switchbacks like the Ultimate.
The Endurace offers a quiet ride and I couldn’t detect any cables rattling. There’s a cable tie system in place in between the two down tube bottle cage bolts which cinch the cables and hoses together during the build to prevent any unwanted rattles.
While it’s often an involved process to tie them all down (as you have to carefully hook the cable tie around the cables in a very small space), it’s an effective solution on this bike.
If you’re ever changing your outers, you’d be wise to use an internal cable routing kit to guide the new outer through the cable tie to prevent having to install a new one.
I couldn’t elicit any toe overlap on the size medium tested.
Groupset performance

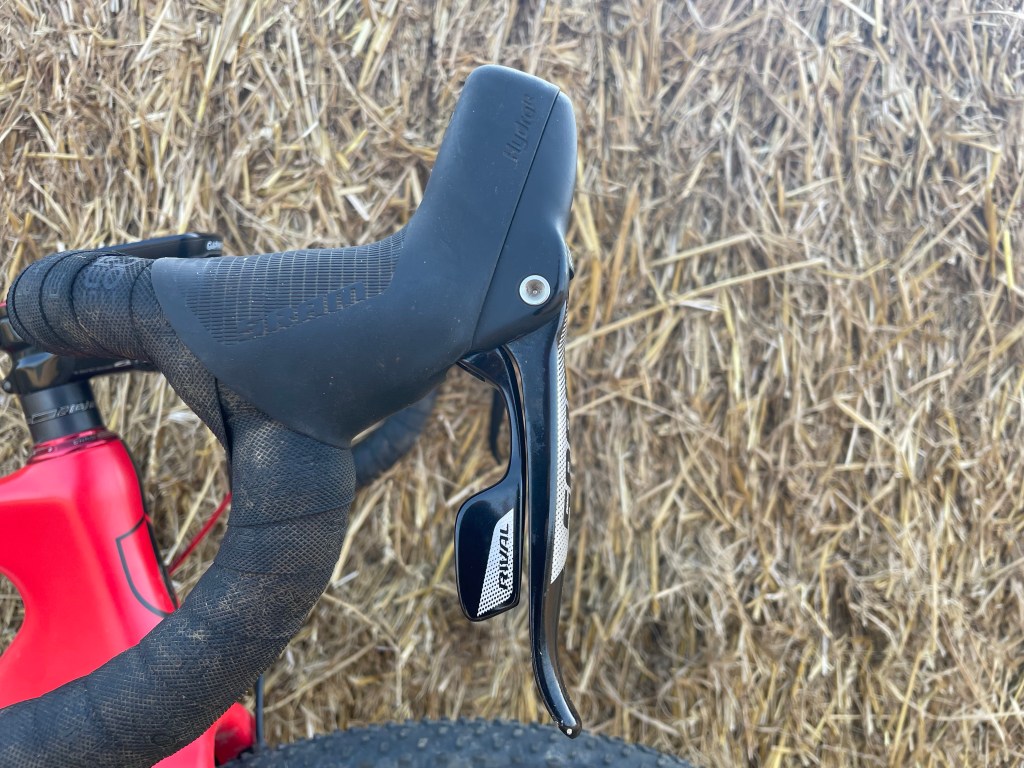
The Endurace CF SL 8.0 is equipped with a Shimano Ultegra R8020 groupset, which I found to be disappointing. I have ridden the R8000 (mechanical with rim brake) and R8070 (hydraulic disc, electronic shifting) variants and while I’ve been impressed with the Di2 platform, the mechanical shifting and hydraulic brakes have some quirks.
The R8020 levers felt bulbous in the hand compared to the svelte R8000 and R8070 variants. The shifting was spot-on and light in feel due to the carbon construction of Ultegra’s levers. That said, despite the chain being lubed with Smoove and being well set-up, the drivetrain was quite noisy on the Endurace. This could be a chain line issue.
Canyon specs a 52/36 chainset and 11-32 cassette. Most endurance bikes rely on a compact 50/34 chainset but the 52t affords you a harder descending gear, which came in handy in the Sardinian mountains where I tested the bike. The 11-32 cassette offers a wide range and will suit most riders, although I find the jumps to be on the larger side, bearing in mind that R8020 is 11-speed.
My personal preference would be for an 11-30, which offers a slightly tighter gear ratio and smaller shifts between gears, but that said, I certainly got to make friends with the 32t cog on some of the climbs.

The braking felt binary and often induced rotor rub, which is a notable problem on this generation of Ultegra. Ultegra and its top-flight brother, Dura-Ace, use Freeza rotors, which Shimano says helps cool down the rotor quicker after prolonged braking.
While this may be the case, the rotors look more of a fashion piece with their futuristic aesthetic and I believe they use a slightly softer alloy, which is why they are more prone to rub.
I rode a Trek Emonda SL 5 earlier in the year which came furnished with a Shimano 105 R7020 groupset and although the brakes were binary, the RT70 rotor was pretty quiet, as it forgoes Freeza technology.
Wheels and tyres

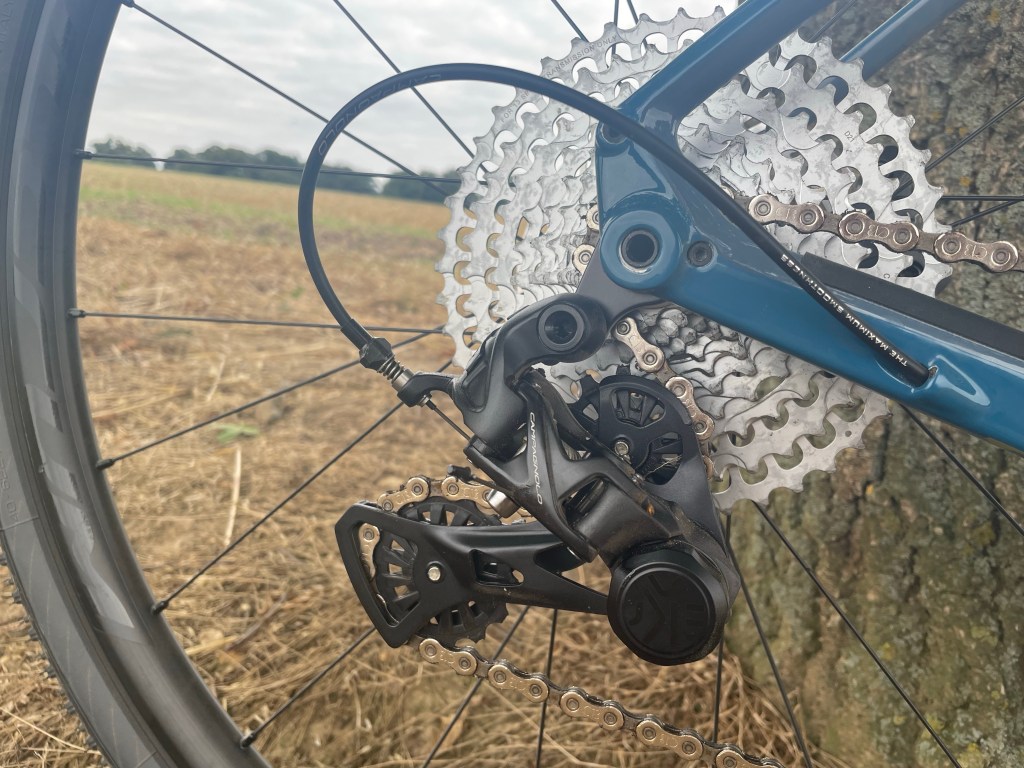
The CF SL 8.0 runs on DT Swiss E1800 Spline wheels with a 23mm rim depth, 24mm external and 20mm internal rim width. The wheels spin on the brand’s 370 hubs, which use a 3-pawl system rather than the brand’s signature Ratchet EXP.
The wheels run well and are a reliable pick, but they’re heavy and would make for an ideal set of winter wheels. Upgrading the wheels would be my first recommendation to reduce the rotating weight and that would really unlock the Endurace’s potential.
Despite the weighty wheels, at least Canyon spec Continental Grand Prix GP5000’s out the box, which are my favourite road summer tyre. Extra kudos for speccing them in a 700x28mm width. Their grip is exemplary and they offer a fast and comfortable ride.
This particular sample came with a Vittoria Zafiro fitted on the rear, which offers opposite qualities to the GP5000 and is a cheap and heavy option that lacks grip. I’d recommend sticking with the GP5000’s.
Finishing kit
Canyon use DT Swiss’ ever-reliable RWS thru-axles with Canyon branding and they worked flawlessly. The levers have a removable handle, allowing you to either use the lever to remove and install the axle or you can remove the lever for a cleaner look and use a 6mm hex key.
The Canyon-branded Ergon VCLS seatpost is perhaps the greatest factor that delivers the Endurace’s comfort. You’ll want to take set-up into account with its flexing nature and you’ll want to consider the size you go for carefully so you can have enough exposed seatpost to really reap the benefit.
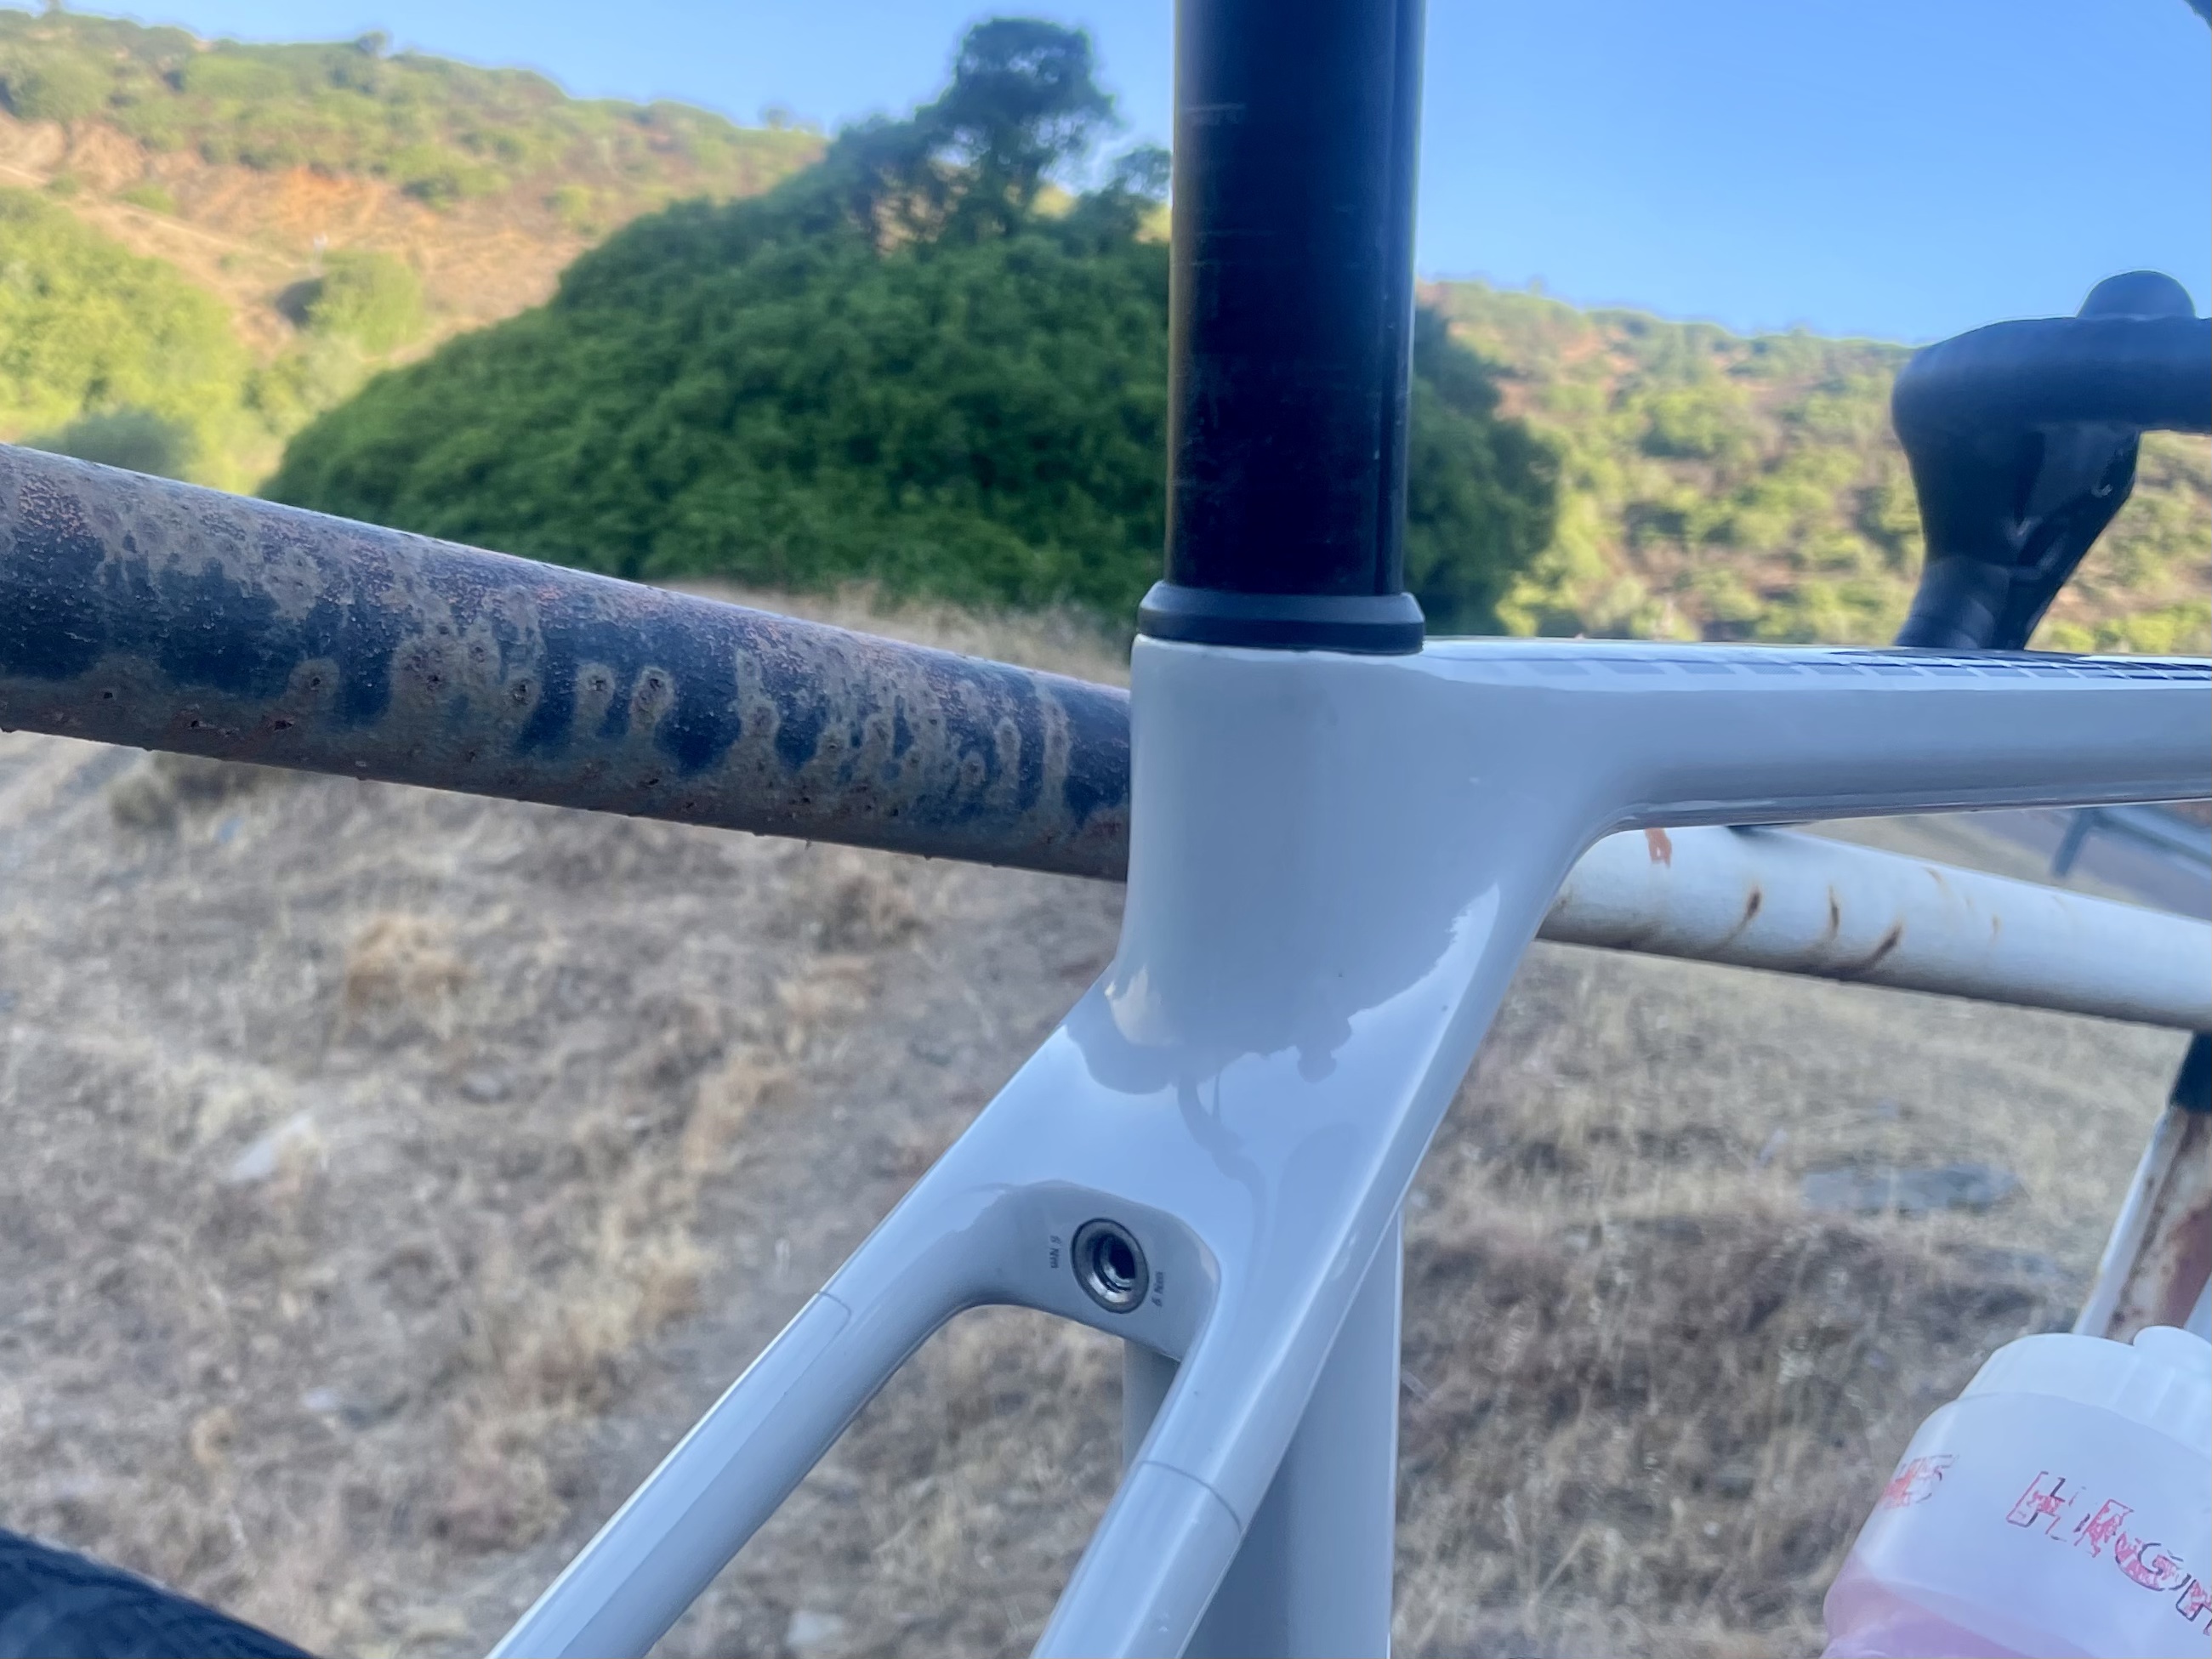
The seatpost clamp design is borrowed from the Ultimate – adjustments are made to a 4mm hex bolt that is positioned to the rear of the seatstay junction. Be sure to use a high-quality torque wrench and apply carbon fibre grip to the seatpost.

The Fizik Argo saddle was horrific and would be the first item to be swapped out if this was my bike. This was my first time riding an Argo and the shape looks particularly agreeable to me, as it is Fizik’s take on a short-nose saddle and I really get on with the Specialized Power. But alas, this saddle was just not for me.
The handlebar and stem were Canyon branded items, with the bars a 42cm width and the stem 100mm. I prefer a narrower 40cm bar as my arms feel a little splayed out on a 42cm, but this is personal preference and a 42cm is a safe option for a medium sized frame.
The Endurace uses Shimano’s BB86 press-fit bottom bracket standard, which is one of my preferred systems and it was creak-free on the Endurace.
Canyon Endurace CF SL 8.0 Disc bottom line
Canyon’s Endurace does what it says on the tin – it’s an endurance bike with a racier edge. For this reason, it’s not as comfortable as some of its competitors which offer armchair-like comfort. But it’s not aspiring to be at this level. This particular CF SL 8.0 build comes pretty sorted out of the box and with an upgrade in wheels, you would have yourself a pretty sweet ride.